Best Custom Delphi Controls to Buy in October 2025

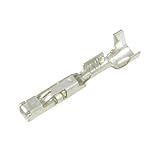
Delphi 2965867 Metri-Pack Female Loose Terminal, 56 Series, 16-14 GA (25 per Pack)
- RELIABLE 16-14 GAUGE CONNECTION FOR OPTIMAL PERFORMANCE.
- DURABLE BLACK DESIGN ENSURES LONG-LASTING USE AND APPEAL.
- COMPATIBLE WITH 56 SERIES FOR EASY UPGRADES AND INSTALLATIONS.


Delphi GENUINE OEM WeatherPack Connector Kit WP-1104: Sealed Weatherproof Automotive Electrical Connectors 20-12 Gauge 1104 Piece Kit
- ALL-GAUGE REMOVAL TOOL BY DELPHI ENSURES RELIABLE PERFORMANCE.
- DURABLE, PORTABLE CASE WITH PART ID FOR EASY FIELD REPAIRS.
- FACTORY DIRECT QUALITY GUARANTEES TRUSTED PARTS AND VALUE.
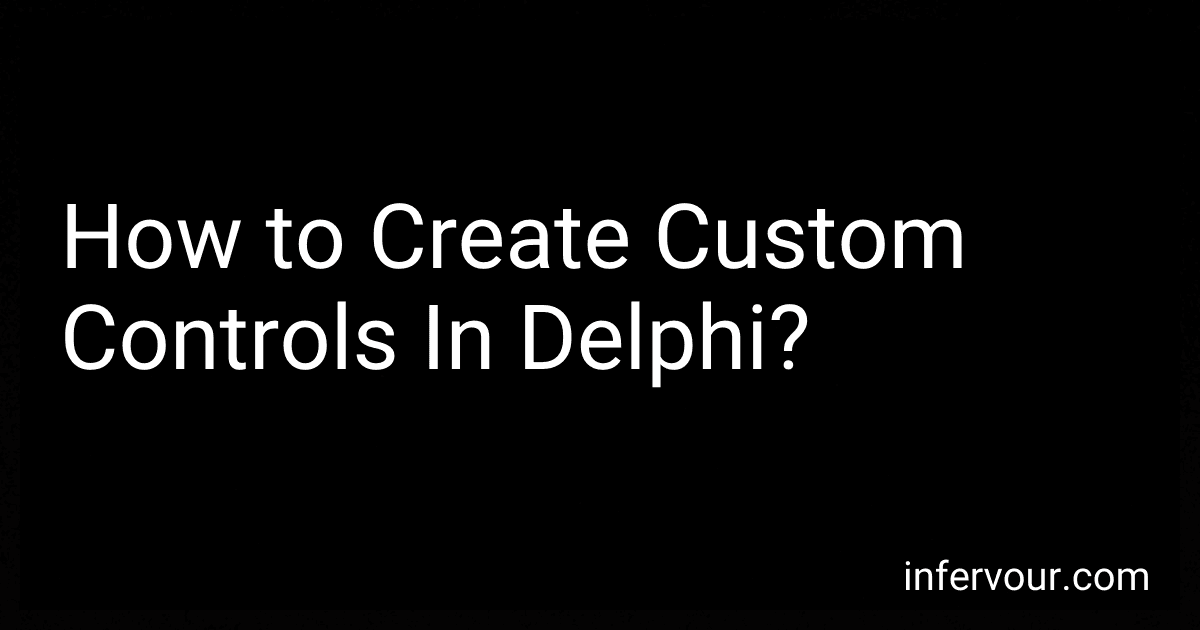
Micro Traders 2PCS 2-Pin Car Fan Plug Wiring Harness Male & Female Connector Compatible with Delphi Metri-Pack 280 Series Line Length 13.5cm 14AWG 2-Terminal Fan Plug Harness
-
SEAMLESS COMPATIBILITY: DESIGNED FOR DELPHI METRI-PACK 280 SERIES.
-
DURABLE CONSTRUCTION: MADE FROM HIGH-QUALITY PLASTIC AND METAL.
-
QUICK INSTALL: EFFORTLESSLY PLUG IN FOR SECURE CONNECTIONS.
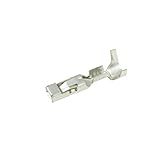
Metri-Pack 280 Series Female Terminal Gauge Size, 10-12 GA (Pack of 15)
- DURABLE STAINLESS STEEL ENSURES LONG-LASTING PERFORMANCE AND RELIABILITY.
- ACCOMMODATES 10-12 AWG WIRES FOR VERSATILE APPLICATION OPTIONS.
- HEAT-RESISTANT UP TO 125°C FOR SAFE USE IN HIGH-TEMPERATURE CONDITIONS.
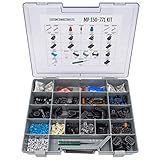
Delphi Metri-Pack Connector Kit MP-150-771: Sealed Automotive Electrical Connectors 24-18 Gauge 771 Piece Kit
- 771 GENUINE DELPHI PARTS FOR TOP-QUALITY ELECTRICAL CONNECTIONS.
- VERSATILE SEALED CONNECTORS WITH 2-8 CAVITY OPTIONS.
- EXCELLENT HEAT AND CHEMICAL RESISTANCE FOR DURABLE PERFORMANCE.
22-20 Ga. Female Metri-Pack Terminals, GT 150 Series, Sealed #12191818 - (Pack of 25)
- DURABLE METRI-PACK GT 150 DESIGN ENSURES RELIABLE CONNECTIONS.
- SEALED TERMINALS PROTECT AGAINST MOISTURE AND CORROSION DAMAGE.
- COMPATIBLE WITH 22-20 GAUGE WIRES FOR VERSATILE APPLICATIONS.

Delphi 12094430 Metri-Pack Terminal Removal Tool Use with 480 & 630 Series

18-16 Ga. Male Metri-Pack Terminals, GT 150 Series, Sealed #15326269 - (Pack of 25)
- DURABLE, WATERPROOF DESIGN ENSURES RELIABLE CONNECTIONS IN ALL CONDITIONS.
- COMPATIBLE WITH 18-16 GAUGE WIRES FOR VERSATILE APPLICATIONS.
- EASY INSTALLATION STREAMLINES YOUR PROJECTS AND SAVES TIME.
18-16 Ga. Female Metri-Pack Terminals, GT 280 Series, Sealed #15304719 - (Pack of 25)
- SECURE, WEATHER-RESISTANT CONNECTION FOR RELIABLE PERFORMANCE.
- COMPATIBLE WITH 18-16 GAUGE WIRING FOR VERSATILE APPLICATIONS.
- EASY INSTALLATION DESIGN MINIMIZES TIME AND LABOR COSTS.
In Delphi, creating custom controls allows developers to tailor the functionality and appearance of controls according to their specific requirements. Here is an overview of the process involved in creating custom controls in Delphi:
- Understanding Control Hierarchy: Delphi follows a hierarchical structure for controls, where each control can act as a container for other controls. You need to have a clear understanding of the control hierarchy to effectively create custom controls.
- Inherit from Existing Components: To create a custom control, you typically start by inheriting from an existing control that closely matches your requirements. By doing this, you can leverage the properties, events, and methods defined by the base control and add your custom behavior on top of it.
- Adding New Properties: Define additional properties that are specific to your custom control. These properties will allow you to expose custom behavior and settings to other developers using your control. Properties can be added by declaring them in the published section of your custom control class.
- Handling Events: Define event handlers for your control to respond to user actions or system events. By adding event handlers, you can customize the behavior of your control and provide specific functionality.
- Overriding Methods: Sometimes, you might need to override methods inherited from the base control to provide customized implementation. This enables you to control the behavior of your custom control at a deeper level.
- Custom Drawing: Depending on your requirements, you can override the Paint method to provide custom drawing capabilities for your control. By doing so, you can modify the appearance of your control to match the desired visual style.
- Packaging and Distribution: Once your custom control is created, you can package it as a component to make it easily reusable in other projects. The component can be installed into the Delphi IDE, and other developers can include it in their projects effortlessly.
Creating custom controls in Delphi allows you to extend the functionality of existing controls or build entirely new controls to cater to your specific needs. It requires a good understanding of Delphi programming concepts, such as inheritance, properties, events, and method overriding.
How to create a custom radio button control in Delphi?
To create a custom radio button control in Delphi, you can follow these steps:
- Open Delphi and create a new VCL Forms Application project.
- Add a new unit to the project by right-clicking on the project in the Project Manager and selecting "New > Unit".
- In the new unit, define a new class that inherits from TRadioButton. This class will represent your custom radio button control. For example:
unit CustomRadioButton;
interface
uses Vcl.StdCtrls, Winapi.Messages, System.Classes;
type TCustomRadioButton = class(TRadioButton) private FCustomProperty: string; protected procedure Click; override; public constructor Create(AOwner: TComponent); override; property CustomProperty: string read FCustomProperty write FCustomProperty; end;
implementation
constructor TCustomRadioButton.Create(AOwner: TComponent); begin inherited Create(AOwner); // Set any custom properties or behaviors here end;
procedure TCustomRadioButton.Click; begin // Add custom behavior for when the radio button is clicked inherited Click; end;
end.
- Save the unit with the desired name (e.g., CustomRadioButton.pas).
- Go back to the main form and add the custom radio button control to it. You can do this by adding a TCustomRadioButton object to the form using the Object Inspector or programmatically in the code.
- Customize and use the custom radio button control by accessing its properties and methods. For example:
uses CustomRadioButton;
...
procedure TForm1.FormCreate(Sender: TObject); var CustomRadioButton1: TCustomRadioButton; begin CustomRadioButton1 := TCustomRadioButton.Create(Self); CustomRadioButton1.Parent := Self; CustomRadioButton1.CustomProperty := 'Custom value'; CustomRadioButton1.Left := 100; CustomRadioButton1.Top := 100; end;
By following these steps, you can create a custom radio button control in Delphi that extends the functionality of the TRadioButton class and adds additional properties or behaviors specific to your application's needs.
How to add custom visual effects to a custom control in Delphi?
To add custom visual effects to a custom control in Delphi, you can follow these steps:
- Create a new custom control by deriving it from an existing control, such as TCustomControl or TPanel. To do this, go to "File" -> "New" -> "Other..." and select "Delphi Files" -> "Component" -> "Custom Control".
- Override the Paint method of the custom control, which is responsible for rendering the visual effects. You can do this by adding a new procedure called Paint, like this:
procedure TCustomVisualControl.Paint; begin // Add your custom visual effects here // You can use the Canvas property of the control to draw on it end;
- Use the properties and methods of the Canvas property to draw the desired effects. For example, you can use the Brush property to set the fill color, the Pen property to set the outline color, and the various drawing methods to draw shapes, lines, and text.
- You can also handle other events of the control to add animation or interactivity to the effects. For example, you can handle the MouseEnter and MouseLeave events to change the appearance when the mouse hovers over the control.
- Build and install the custom control package. This will make your custom control available for use in other Delphi projects.
- In your Delphi project, add an instance of your custom control to the form or container where you want to use it. Set any custom properties or event handlers as necessary.
- Compile and run your project to see your custom control with the added visual effects in action.
Note: The specific implementation of custom visual effects will depend on your requirements and the desired effect you want to achieve. This is just a general guideline to get you started.
How to enhance the appearance of custom controls in Delphi applications?
There are several ways to enhance the appearance of custom controls in Delphi applications. Here are a few approaches you can take:
- Use Custom Drawing: Override the control's Paint method to perform custom drawing. Utilize the Delphi's TCanvas object to draw the control with various colors, gradients, and effects. You can also use third-party libraries to add more sophisticated graphics.
- Apply Styles: Delphi provides a feature called VCL Styles, which allows you to apply custom visual styles to your controls. By using VCL Styles, you can change the appearance of your controls to match the overall look and feel of your application or adhere to specific design requirements.
- Add Animation and Transitions: Enhance the appearance of your custom controls by adding animation and transitions. Use the built-in Delphi animation components, such as TFloatAnimation or TColorAnimation, to create effects like fade-ins, flip animations, or sliding panels.
- Use Images and Icons: Incorporate images and icons into your custom controls to enhance their appearance. For example, you can use PNG images with transparent backgrounds to create buttons with custom shapes.
- Implement Mouse Hover Effects: Add mouse hover effects to your controls to make them more interactive and visually appealing. Change the color or appearance of the control when the mouse cursor hovers over it using the OnMouseEnter and OnMouseLeave events.
- Utilize Skins and Themes: Use third-party libraries or components that provide skinning or theming capabilities. These tools allow you to easily change the appearance of controls across your entire application using predefined or custom skins.
Remember, the specific approach you take will depend on the specific needs and requirements of your application and its custom controls.